
How to Compress Images Without Losing Quality: A Complete Guide

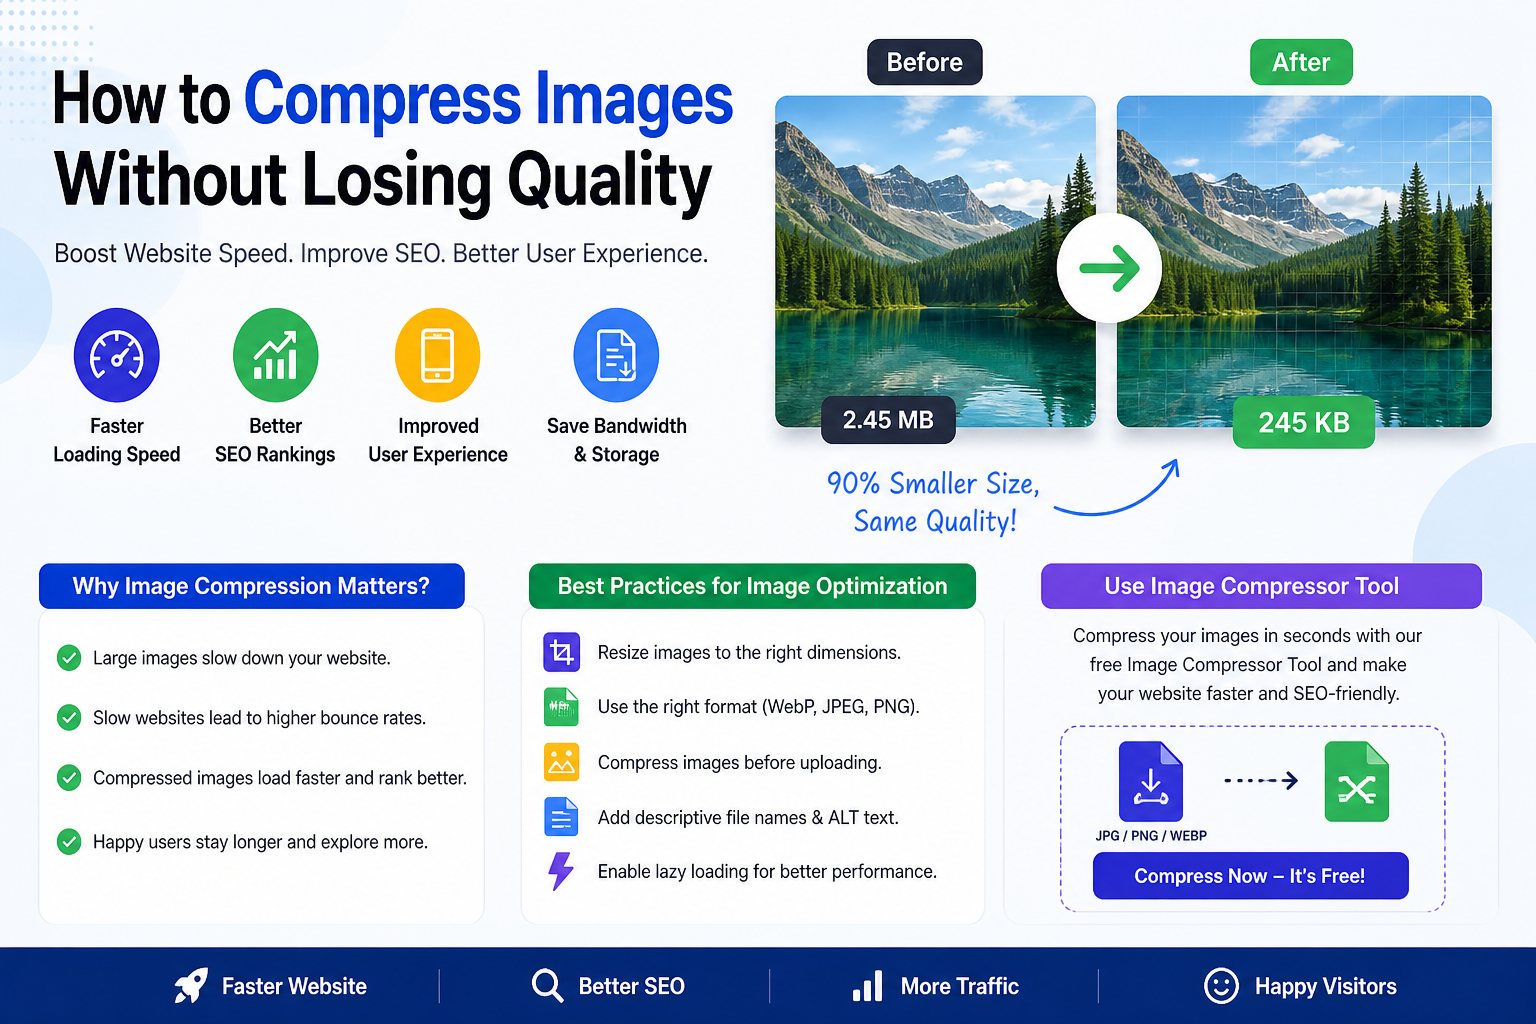
Images are an essential part of modern websites. They make blog posts more attractive, improve visual communication, and can help visitors understand information more easily. However, large image files can also slow down a website and negatively affect the user experience.
This is why image compression is an important part of website optimization.
Whether you run a blog, business website, online store, portfolio, or SEO website, reducing image file sizes before uploading them can help improve loading speed while keeping images visually appealing.
What Is Image Compression?
Image compression is the process of reducing the file size of an image while maintaining as much visual quality as possible.
For example, an original image may be several megabytes in size. After compression, the same image may become significantly smaller without a noticeable difference in appearance.
Smaller images require less bandwidth and generally load faster, which is especially important for users browsing websites on mobile devices.
Why Is Image Compression Important for SEO?
Website performance is an important part of providing a good user experience. Large images are one of the common reasons websites load slowly.
When a page contains multiple high-resolution images, browsers need to download more data before the page can become fully usable.
Compressing images can help with:
- Faster page loading
- Better mobile experience
- Reduced bandwidth usage
- Improved website performance
- Better user experience
- More efficient media management
Image optimization should therefore be part of a broader technical SEO strategy.
How Large Images Affect Website Speed
Imagine a blog page containing ten images, with each image being around 2 MB.
That means visitors may need to download approximately 20 MB of image data just to load one page.
For users with a fast internet connection, this may not seem significant. However, visitors using mobile networks or slower connections can experience much longer loading times.
Large images can also contribute to a poor experience when important content takes longer to appear.
Reducing image file sizes before uploading them can make a significant difference.
How to Compress an Image
You don’t need advanced technical knowledge to optimize your images.
A simple workflow is:
- Select the image you want to use.
- Upload it to an image compression tool.
- Let the tool reduce unnecessary file data.
- Download the optimized image.
- Upload the compressed version to your website.
For a quick and simple solution, you can use the Free Image Compressor from Get SEO Tools Hub to reduce image file sizes before publishing them online.
JPEG vs PNG: Which Format Should You Use?
Different image formats are suitable for different situations.
JPEG
JPEG is commonly used for:
- Photographs
- Blog images
- Travel pictures
- Product photography
- Social media graphics
JPEG files can usually achieve a good balance between quality and file size.
PNG
PNG is useful when you need:
- Transparent backgrounds
- Logos
- Icons
- Graphics
- Screenshots
However, PNG files can sometimes be significantly larger than compressed JPEG or modern image formats.
What About WebP?
WebP is a modern image format designed to provide efficient compression while maintaining good visual quality.
Many modern websites use WebP because it can significantly reduce image file sizes compared with traditional formats in many situations.
If your website and hosting environment support WebP, converting suitable images to WebP can be another useful optimization technique.
Lossy vs Lossless Compression
There are two common approaches to image compression.
Lossy Compression
Lossy compression removes some image information to achieve a smaller file size.
The advantage is that files can become much smaller.
The disadvantage is that aggressive compression can reduce visual quality.
Lossless Compression
Lossless compression reduces file size without permanently removing image information.
This can be useful when preserving the original image quality is particularly important.
The right approach depends on the type of image and how it will be used.
How to Optimize Images for Blog Posts
If you regularly publish blog articles, follow these simple practices.
Resize Images Before Uploading
Don’t upload a 5000-pixel-wide image if your website only displays it at 1200 pixels.
Resize the image to a practical dimension before uploading it.
Compress Before Uploading
Always reduce unnecessary file size before adding images to your WordPress Media Library.
Use Descriptive File Names
Instead of:
IMG_4587.jpg
use something descriptive such as:
website-image-optimization.jpg
This makes your media library easier to manage and provides useful context.
Add Relevant ALT Text
ALT text should accurately describe the image.
For example:
image compression tool for website optimization
is more useful than simply repeating a target keyword.
Use Lazy Loading
Images below the initial viewport can generally be lazy-loaded so they don’t all need to download immediately when the page opens.
Image Compression for WordPress Websites
WordPress makes publishing images easy, but it is still important to optimize images before uploading them.
A good workflow is:
Resize → Compress → Rename → Upload → Add ALT Text → Publish
This helps keep your Media Library cleaner and prevents unnecessarily large files from being used across your website.
If you publish content frequently, making image optimization part of your normal publishing process can save time and improve website performance.
Common Image Optimization Mistakes
Uploading Original Camera Images
Camera and smartphone images can be several megabytes in size. Uploading them directly to a website is often unnecessary.
Using Huge Dimensions
An image does not need to be larger than the area where it will actually be displayed.
Ignoring Mobile Users
Large images can be particularly problematic for visitors using mobile networks.
Compressing Too Aggressively
Reducing file size is useful, but excessive compression can create visible artifacts and reduce the quality of your website’s visuals.
Forgetting ALT Text
ALT text provides useful information about images and also improves accessibility.
A Simple Image Optimization Checklist
Before publishing an image, ask yourself:
- Is the image the correct size?
- Has it been compressed?
- Is the file format appropriate?
- Does the filename describe the image?
- Does the image need transparency?
- Is the ALT text descriptive?
- Is lazy loading appropriate?
- Does the image look good on mobile?
If the answer to these questions is yes, your image is much more likely to be ready for publication.
Final Thoughts
Image optimization doesn’t have to be complicated. A few simple steps can help reduce unnecessary image data and create a faster, cleaner website experience.
Start by resizing images to appropriate dimensions, compressing them before uploading, choosing the right file format, and adding meaningful ALT text.
For a quick way to reduce image file sizes, try the Image Compressor from Get SEO Tools Hub before uploading images to your website.
Small improvements in image optimization can make a big difference when applied consistently across an entire website.

Rank Craft
Contributing writer and creator on the Quillmark community publishing platform.
Responses & Discussion (0)