
How to Optimize Images for SEO Without Losing Quality

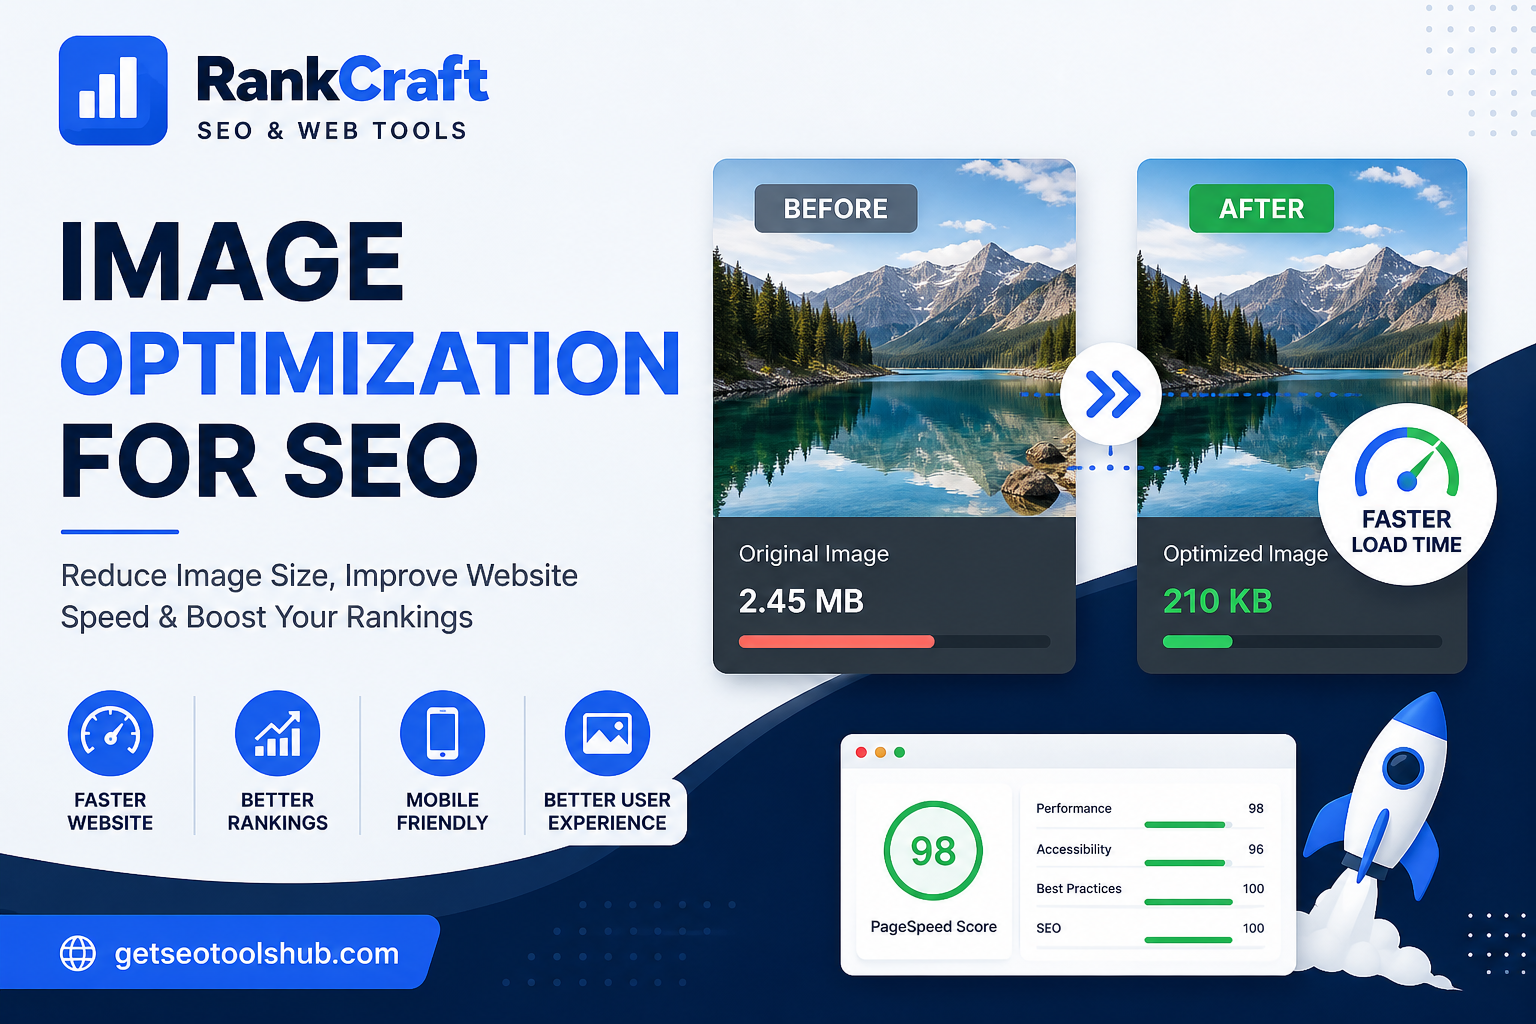
How to Optimize Images for SEO Without Losing Quality
Images make a website more attractive, easier to understand, and more engaging. But large, poorly optimized images can also slow down a website and create a poor experience for visitors.
That is why image optimization for SEO should be part of your website optimization process.
The good news is that optimizing images does not mean making them blurry or removing them from your website. With the right image format, dimensions, compression settings, filenames, and alt text, you can significantly reduce image file size while keeping images visually sharp.
In this guide, we will explain how to optimize images for SEO, why image compression matters, which formats to use, and how to prepare images before uploading them to your website.
What Is Image Optimization for SEO?
Image optimization is the process of preparing images so they provide a good balance between visual quality, file size, loading speed, and accessibility.
A properly optimized image should:
-
Load quickly
-
Have suitable dimensions
-
Use an appropriate file format
-
Have a descriptive filename
-
Include useful alt text when appropriate
-
Avoid unnecessary file size
-
Look clear on the device where it is displayed
Image optimization is particularly important for websites that contain product images, blog graphics, portfolios, photography, service images, or other visual content.
Why Image Optimization Matters for SEO
Search engines need to understand the content and context of a webpage. Images can contribute to that understanding, while optimized images can also help create a better page experience.
Google recommends creating useful content for people and making pages understandable to both users and search engines. Descriptive titles, relevant text, and appropriate image optimization can all contribute to a better website experience.
There are several reasons to optimize images.
1. Faster Website Loading
Large images can contain thousands or millions of pixels and may occupy several megabytes.
If a webpage contains multiple large images, visitors may have to download a significant amount of data before the page becomes fully usable.
Compressing images can reduce the amount of data that browsers need to download.
2. Better User Experience
Visitors generally do not want to wait for a page to load.
A faster page makes it easier for users to read an article, browse products, view a portfolio, or contact a business.
Image optimization is therefore not simply an SEO task. It is also a usability improvement.
3. Better Mobile Performance
Mobile users may access websites using slower or less reliable connections.
A 3 MB image that looks almost identical to a 300 KB optimized version is unnecessary for many web pages.
Reducing image file size can help decrease the amount of data required to load a page.
4. Improved Image Search Visibility
Search engines can discover and understand images through surrounding content, filenames, alt attributes, and other signals.
Using meaningful image information gives search engines more context about what an image represents.
This can make image SEO an important part of an overall search strategy.
How to Optimize Images for SEO
You do not need complicated software to start optimizing your website images.
Follow these steps before uploading images to your website.
1. Choose the Right Image Format
Different image formats are useful for different situations.
JPEG
JPEG is commonly used for photographs and images containing many colors.
It can provide a good balance between file size and visual quality.
PNG
PNG can be useful when transparency or lossless image quality is important.
However, PNG files can sometimes be significantly larger than modern compressed formats.
WebP
WebP is a modern image format that can provide efficient compression while maintaining good visual quality.
For many websites, WebP can be an effective choice when supported by the website’s image delivery setup.
SVG
SVG is particularly useful for logos, icons, and other graphics that can be represented as vectors.
Unlike raster images, SVG graphics can scale to different sizes without becoming pixelated.
The best format depends on the type of image and how it will be used.
2. Compress Images Before Uploading
One of the easiest ways to reduce image file size is compression.
For example, imagine you have a 2 MB photograph that appears on a blog post. If compression reduces it to 400 KB while the visual difference is barely noticeable, the browser has much less data to download.
You can use a browser-based free image compressor to reduce image file size before uploading images to your website.
The RankCraft Image Compressor supports JPG, PNG, WebP, and GIF files and processes images directly in the browser.
This makes it useful when you want to quickly compress images without uploading them to an external server.
3. Resize Images to Their Actual Display Size
Uploading a huge image and displaying it at a much smaller size is another common mistake.
For example, if your website displays an image at approximately 800 pixels wide, there may be little benefit in uploading a 5000-pixel-wide image.
Instead, resize the image before uploading it.
A free image resizer can help you change the width and height of an image while maintaining its aspect ratio. It can also convert supported image formats directly in the browser.
The goal is simple:
Use an image that is large enough for its intended display, but not unnecessarily large.
4. Use Descriptive Image File Names
Do not upload every image using filenames such as:
IMG_1234.jpg
or
DSC00982.png
A descriptive filename gives additional context.
Instead of:
IMG_1234.jpg
consider:
seo-friendly-images.jpg
Instead of:
IMG_5678.webp
consider:
website-image-compression.webp
Keep filenames readable, descriptive, and relevant to the image.
Avoid stuffing keywords into filenames simply to manipulate rankings.
5. Write Useful Alt Text
Alt text helps describe an image when the image cannot be properly viewed and can also provide additional context.
For example, an image showing a person compressing a website image could have alt text such as:
“Compressing a website image to reduce file size”
Avoid writing unnatural keyword-heavy alt text such as:
“best image compression SEO image compressor website SEO tool”
Alt text should describe the actual image when an alternative text description is appropriate.
The purpose should be accessibility and useful context—not keyword stuffing.
6. Avoid Uploading Duplicate Images
Websites sometimes contain several versions of the same image without a clear reason.
Before uploading an image, check whether the website already contains the same or a suitable version.
Reducing unnecessary media files can make website management easier and prevent accidental duplication.
7. Consider the Image’s Context
An image should support the content around it.
For example, if you are writing an article about website speed, an image showing an optimized website dashboard or compressed image file makes more sense than an unrelated stock photo.
Place images near relevant text whenever possible.
The surrounding heading, paragraph, caption, filename, and alt text can all help establish context.
Image Compression vs Image Resizing
Image compression and image resizing are related, but they are not the same thing.
Image resizing changes the physical dimensions of an image.
For example:
4000 × 3000 px → 1200 × 900 px
Image compression reduces the amount of data required to store or transmit the image.
You can often use both techniques together.
For example:
-
Resize a 4000px image to 1200px.
-
Compress the resized image.
-
Choose an appropriate output format.
-
Upload the optimized version.
This approach can produce a much smaller file than simply uploading the original photograph.
How Much Should You Compress an Image?
There is no universal compression percentage that works for every image.
A photograph with many details may require different settings from a simple graphic or screenshot.
Instead of targeting a specific percentage, compare:
-
Original file size
-
Compressed file size
-
Image dimensions
-
Visual quality
-
Actual use on the webpage
The best result is usually the smallest practical file that still looks good to the visitor.
Common Image SEO Mistakes to Avoid
Uploading Original Camera Photos
Modern cameras and smartphones can produce very large image files.
Uploading those original files directly to a website can unnecessarily increase page weight.
Using Huge Dimensions
A 5000px-wide image may be unnecessary when the website only displays it at 1000px.
Resize it first.
Ignoring Mobile Users
An image that looks fine on a desktop can still contribute to a heavy mobile page.
Always consider how images will affect smaller screens and slower connections.
Keyword Stuffing Alt Text
Alt text should describe the image naturally.
Do not turn every alt attribute into a list of keywords.
Using the Wrong Format
A photograph saved in an unnecessarily heavy format can increase file size.
Choose a format based on the image type and how it will be used.
Uploading Images Without Checking Their Size
Always check the final image size before adding it to a webpage.
A quick compression step can sometimes save a significant amount of data.
A Simple Image SEO Workflow
You can make image optimization part of your regular content workflow.
Before publishing a blog post or webpage:
Step 1: Choose the correct image.
Step 2: Resize it according to the required display dimensions.
Step 3: Compress the image.
Step 4: Select an appropriate format such as JPEG, WebP, PNG, or SVG depending on the use case.
Step 5: Rename the file descriptively.
Step 6: Add useful alt text where appropriate.
Step 7: Upload the optimized image.
Step 8: Check the published page on both desktop and mobile.
This process takes only a few extra minutes but can prevent unnecessarily large image files from being published.
Optimize Your Images Before Publishing
You don’t need expensive software for basic image optimization.
If you need to quickly reduce an image’s file size, try the RankCraft Image Compressor.
If the image dimensions are too large, use the RankCraft Image Resizer to adjust its width and height before uploading it.
Both tools are browser-based, so your images can be processed locally on your device. The Image Compressor specifically uses browser-side processing rather than sending uploaded images to a server.
Final Thoughts
Image optimization is one of those small website improvements that can have a practical impact on both users and site performance.
You don’t need to sacrifice image quality to reduce file size.
Start with the basics:
Resize → Compress → Choose the right format → Use descriptive filenames → Add useful alt text → Check the final page.
When these steps become part of your publishing workflow, your website can deliver images more efficiently while still providing visitors with a high-quality visual experience.
For more free tools for SEO, content, images, development, and marketing tasks, explore RankCraft’s free online tools.

Rank Craft
Contributing writer and creator on the Quillmark community publishing platform.
Responses & Discussion (0)